W.I.P. Trials & Errors:
My Little Pony Decorate Your Own Blank Pony


However, I've been working on this, (weather permitting) for nearly a month now. I'm up in New England (Greater Boston) so we are prone to the local humidity, which is especially vicious in the summer...
 Unfortunately, my first paint I chose, hoping to match with the burgundy hair, went disastrously wrong!

You can find more disastrous ml paint jobs HERE.
D-: }
If your pony paint job looks bad like this: START OVER!
Like I did! ;)

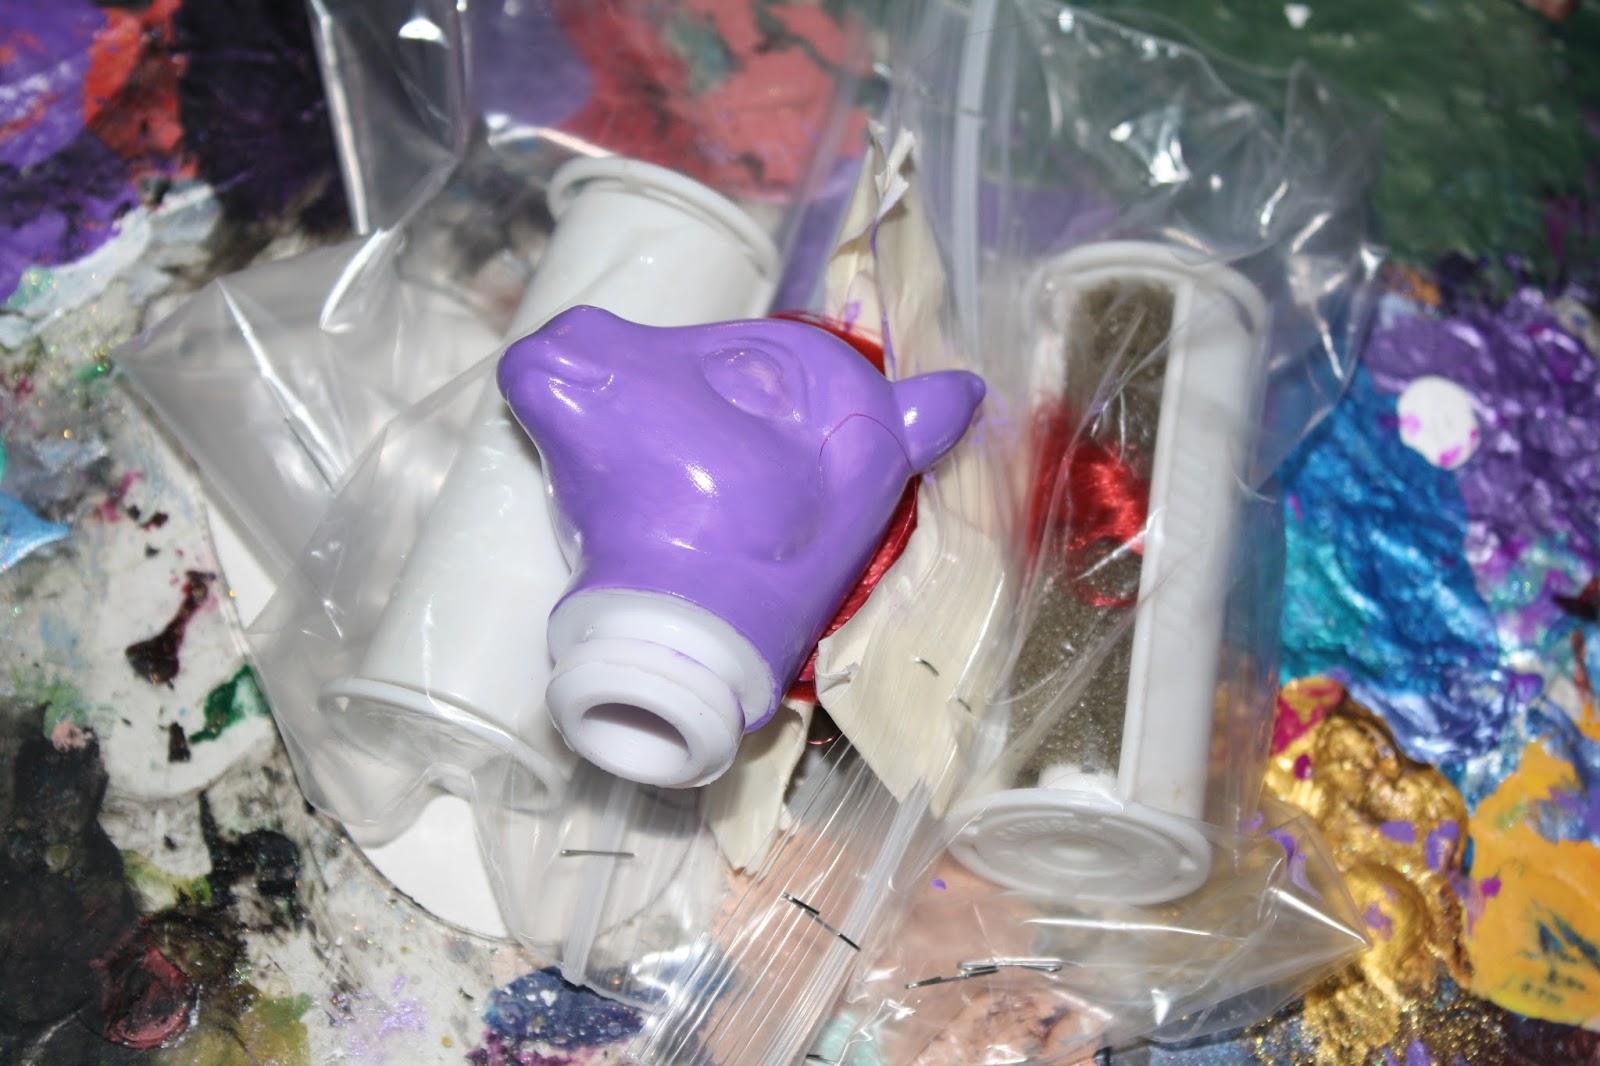
 however, this paint was just awful! after the 8th coat I was REALLY troubled because it still looked like a 1st coat of paint, would show up on the photos because the camera couldn't see the neon colors, and was very low in pigments. It also kept being gloppy, or would rub off.
 So, I had no choice but to grab the paint remover (ethyl acetate like nail polish remover) and remove it all!Despite how easily it rubbed off when working with it, the paint removal took almost an hour because it was so thick & gloppy!
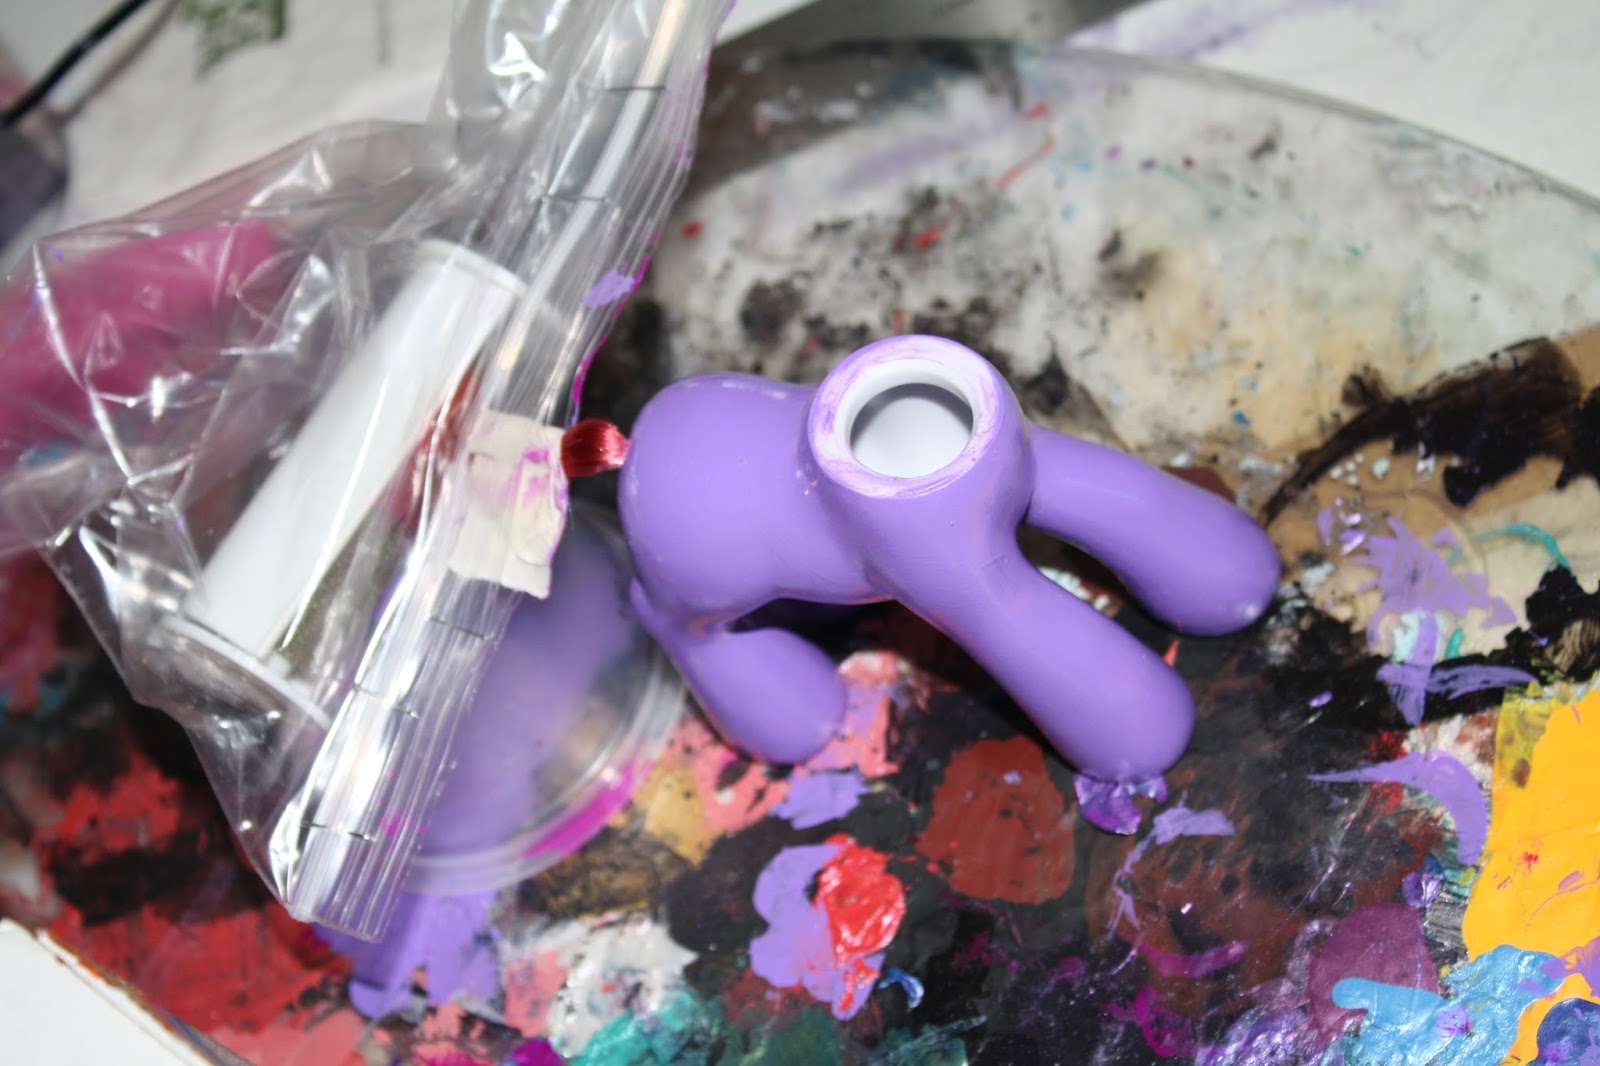
Finally, I started a test paint with a different purple paint, that was glossy. Much better result and only required about 3 coats! THAT'S what I'm looking for!
MUCH BETTER!

You will need masking fluid for the eyes.


pay attention to the paint on the brush. If it's gloppy, sloppy, clumpy, or leaves streaks, just take a moment to WASH THE BRUSH OFF, and start over. It WON'T KILL YOU!
Be sure your paint isn't too tacky, too wet, too dry, but JUST the right consistency!
Also, learn how to use your fingers to squeeze off the excess water. You don't want the water you just used to rinse it off to water-down the paint that you need to work with.
Rushing will make an ugly project. Be patient.
But, also, LEARN FROM YOUR MISTAKES. Just like me. I had to START ALL OVER. BUT, it was WORTH IT! See?


THE BOX:

Let's face it, the box is so plain & white, and BLANK, that it is JUST SCREAMING to be decorated!
From the get-go, I've been wanting to do a simple paisley design, but also include my logo.

So, that's exactly what I did!
But, also I wanted to make this a simple process, because... let's face it! Other than the typical My Little pony customized ponies, they're pretty much all the vintage ponies that are usually all beat up, and have the hair redone... I want to STICK with the hair it already has, and this is a specifically brand named product made by Hasbro JUST for being decorated... so, it could be done by the serious professional artist/craftsman/artisan doll-maker/toymaker/customizer, or let's face it: KIDS!

When I first started doing my research, I was noticing that what started by adults years ago (usually by my generation that grew up with the original ponies in the 80s) has naturally caught onto kids...
Well, of course! Duh! It's toys! It's ponies! And, people like doing crafts, regardless of age...
However, I was dumbfounded that so many kids were entirely clueless as to what they were doing... I found countless videos of so-called "tutorials" of children video recording themselves "customizing" a pony, but it turned out that they'd NEVER done it before, had NO TRAINING in art, let alone anything decent in even crafts, or painting... also didn't cite any sources (but they're kids, and most likely don't know what that means, let alone how, nor that that ought to) and would openly admit "I have never done this before", "I don't know what exactly I'm doing", "This is my first try", or "I don;t know why, but I read that I should do this somewhere.".
*face-palm*
My heart really goes out to you kids. I realize you're very innocent, and really don't know much about it, and also don't have any sort of mentor figure. And, I'm sure that some of the stuff published by adults, might at times be a bit above the level you can understand yet... so, don't beat yourself up.
But, I'm sure deep down inside, you'd rather do something much nicer that you won't regret sometimes, and toss out as junk, when your hormones start to influence your mind later on...
So, I must emphasize that it might behoove you to start taking a basic painting class, and learn how to really use paintbrushes. Learn about paint consistently, brush strokes, blending, etc. Just this simple basic stuff will make your projects that much better once you have the better fundamentals of how to use paints. I've helped so many kids since I was a kid, and even adults when I was still a kid, so I get it.
 But, that is my point. I'm doing this very simple, as an example for especially children, young people, and those new to this (since I know that My Little pony is so popular).
Markers:
For starters, I'm using my vintage Professional graphic art markers. They can blend, and they can be used to blend colors TOGETHER in gradients or shades, and even in highlights. Now, these are incredibly expensive markers! They are worth EVERY penny, but they won't be a good choice for a child.
But, you can use regular markers, colored pencils, paints, pastels, mixed media, etc.
If you a a kid reading this, I would urge you to take some real design & painting classes, learn blending, layout, negative space, French curves, inking, professional comic book art or pro manga art, or Gongbi Chinese painting. It's all basic fundamentals, but if you are new to this, just experiment with your regular markers, pencils, etc.

But, like I said, I'm keeping it VERY simple.

A shot of my vintage Pantone TRIA makers. I got mine in 1999 at the art college I went to (Art Institute of Philadelphia).
These were manufactured in England, and they blend fantastically! You can let them dry, and ad more color, or blend them with other colors. They also look different when wet than dry.


(in case you wanted to know).
These markers last so long, and if you can find someone selling an old vintage set, you will be surprised at how well they keep. You know the phrase:
They don't make them like they used to!"
There are newer ones of them for sale as well.
Either way, they will cost a lot of money.

But, you needn't be a pro to decorate this stuff.


Like I was saying, I wanted a basic paisley design, like mehndi. I figure most kids these days know what mehndi are, and have most likely done those. If you haven't look up both paisley & mehndi in your favorite search engine, like Yahoo or Google, and really research some examples.
Now, I must admit, I'm rather out of practice with sketching lately, so to me my logo isn't my best, obviously... I've done several variations on my logo... but, like I was saying, I wanted it to be simple anyway. So, I did. This is what you would call a silhouette. But, I also did this to show how easy it was to use DESIGN to incorporate the paisley designs with my logo, the pony logo, etc. I also have my signature on it. You can see I used simple lotus blossoms, dots, teardrops, chilly peppers, and colors.
It's not very hard at all. Just simple.
I started to draw my basic shapes or designs on first using a 3H graphite pencil. You can buy those very cheaply in art art supply store. It's a VERY light led.


The 2nd design I made on a blank side of the box incorporates hearts, loutus blossoms, paisley, rain drops motif, and a peppermint candy design.
Very very simple! See?
Anybody can do this.
you just need to be patient, don't rush, and ENJOY YOURSELF in the profess!

Here is my 3rd side of the box DESIGN I made.
You will notice that it's a paisley that looks like a ponytail!
But, I made the shapes & designs of it to resemble that of a rooster tail (tail feathers).
You can see a solar motif with clouds & a rainbow, and more lotus blossoms, raindrops, and dots.
Even tho' I'm using a more professional grade of art tools, doesn't mean that you can't do this with regular stuff.
If you want to decorate your box, it's entirely up to you how to do that. Also, keep in mind that there is a stamped number on the back of the box.
This is all the work I have done on mine so far.

I am also on Deviant Art.
I have a fanpage on FaceBook, and you can follow me on Twitter.
And, I will be uploading some videos about this project on my YouTube channel.
If you have any legitimate questions about art, you can write them here on the blog, or address them to me on Deviant Art.
If you're just a troll-brony, obviously you're just gonna do whatever... so, whatever... comment, boast, gripe, criticize, whatever... If you're a jerk, whatever... I don't care... I wrote this to help artists, newbies, and kids...
No comments:
Post a Comment