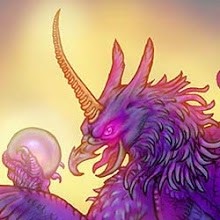
This is the W.I.P. parts for the making of my custom designed & custom made Wand from the Wizarding World of Harry Potter with Taoist Wizardry.
🪄☯️🧙♀️🧙🏾♂️ My #CustomMade #DIY #WIP #wand #WizardingWorld #Taoist #HarryPotter #sculpy #sculpture #CustomDesign #art #project #ArtProject #painting pic.twitter.com/RhWbcyCmeI
— 任思麒 Kandice Z. ☮️✌🏽🕊✊🏽 (@BlackUniGryphon) May 4, 2026
Made with Armature wire & Super Sculpy.
🪄☯️🧙♀️🧙🏾♂️ My #CustomMade #DIY #WIP #wand #WizardingWorld #Taoist #HarryPotter #sculpy #sculpture #CustomDesign #art #project #ArtProject #painting pic.twitter.com/aQVMezbjDV
— 任思麒 Kandice Z. ☮️✌🏽🕊✊🏽 (@BlackUniGryphon) May 4, 2026
🪄☯️🧙♀️🧙🏾♂️ My #CustomMade #DIY #WIP #wand #WizardingWorld #Taoist #HarryPotter #sculpy #sculpture #CustomDesign #art #project #ArtProject #painting pic.twitter.com/U75P4s8Wc9
— 任思麒 Kandice Z. ☮️✌🏽🕊✊🏽 (@BlackUniGryphon) May 4, 2026
🪄☯️🧙♀️🧙🏾♂️ My #CustomMade #DIY #WIP #wand #WizardingWorld #Taoist #HarryPotter #sculpy #sculpture #CustomDesign #art #project #ArtProject #painting pic.twitter.com/2Gf62Kwymm
— 任思麒 Kandice Z. ☮️✌🏽🕊✊🏽 (@BlackUniGryphon) May 4, 2026
🪄☯️🧙♀️🧙🏾♂️ My #CustomMade #DIY #WIP #wand #WizardingWorld #Taoist #HarryPotter #sculpy #sculpture #CustomDesign #art #project #ArtProject #painting pic.twitter.com/2Gf62Kwymm
— 任思麒 Kandice Z. ☮️✌🏽🕊✊🏽 (@BlackUniGryphon) May 4, 2026
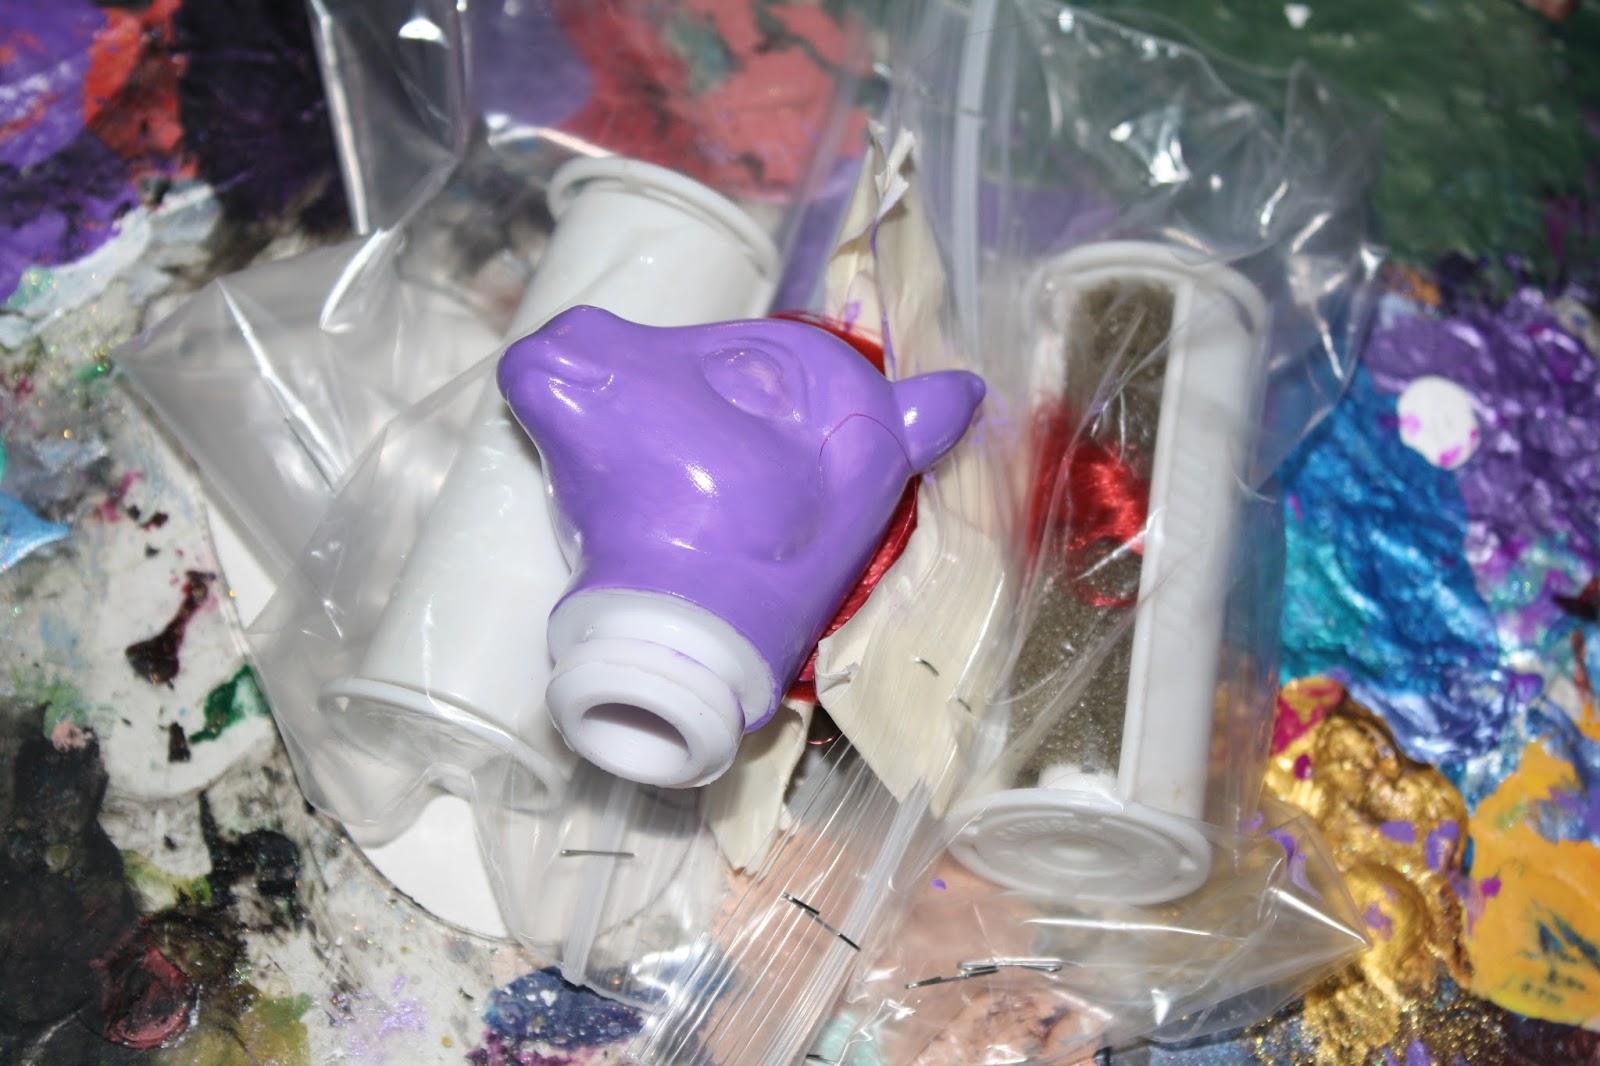
RuYi handle
— 任思麒 Kandice Z. ☮️✌🏽🕊✊🏽 (@BlackUniGryphon) May 4, 2026
🪄☯️🧙♀️🧙🏾♂️ My #CustomMade #DIY #WIP #wand #WizardingWorld #Taoist #HarryPotter #sculpy #sculpture #CustomDesign #art #project #ArtProject #painting pic.twitter.com/ZBjizpHLrA
RuYi handle
— 任思麒 Kandice Z. ☮️✌🏽🕊✊🏽 (@BlackUniGryphon) May 4, 2026
🪄☯️🧙♀️🧙🏾♂️ My #CustomMade #DIY #WIP #wand #WizardingWorld #Taoist #HarryPotter #sculpy #sculpture #CustomDesign #art #project #ArtProject #painting pic.twitter.com/ZBjizpHLrA
RuYi handle
— 任思麒 Kandice Z. ☮️✌🏽🕊✊🏽 (@BlackUniGryphon) May 4, 2026
🪄☯️🧙♀️🧙🏾♂️ My #CustomMade #DIY #WIP #wand #WizardingWorld #Taoist #HarryPotter #sculpy #sculpture #CustomDesign #art #project #ArtProject #painting pic.twitter.com/mxRtGrXsp4
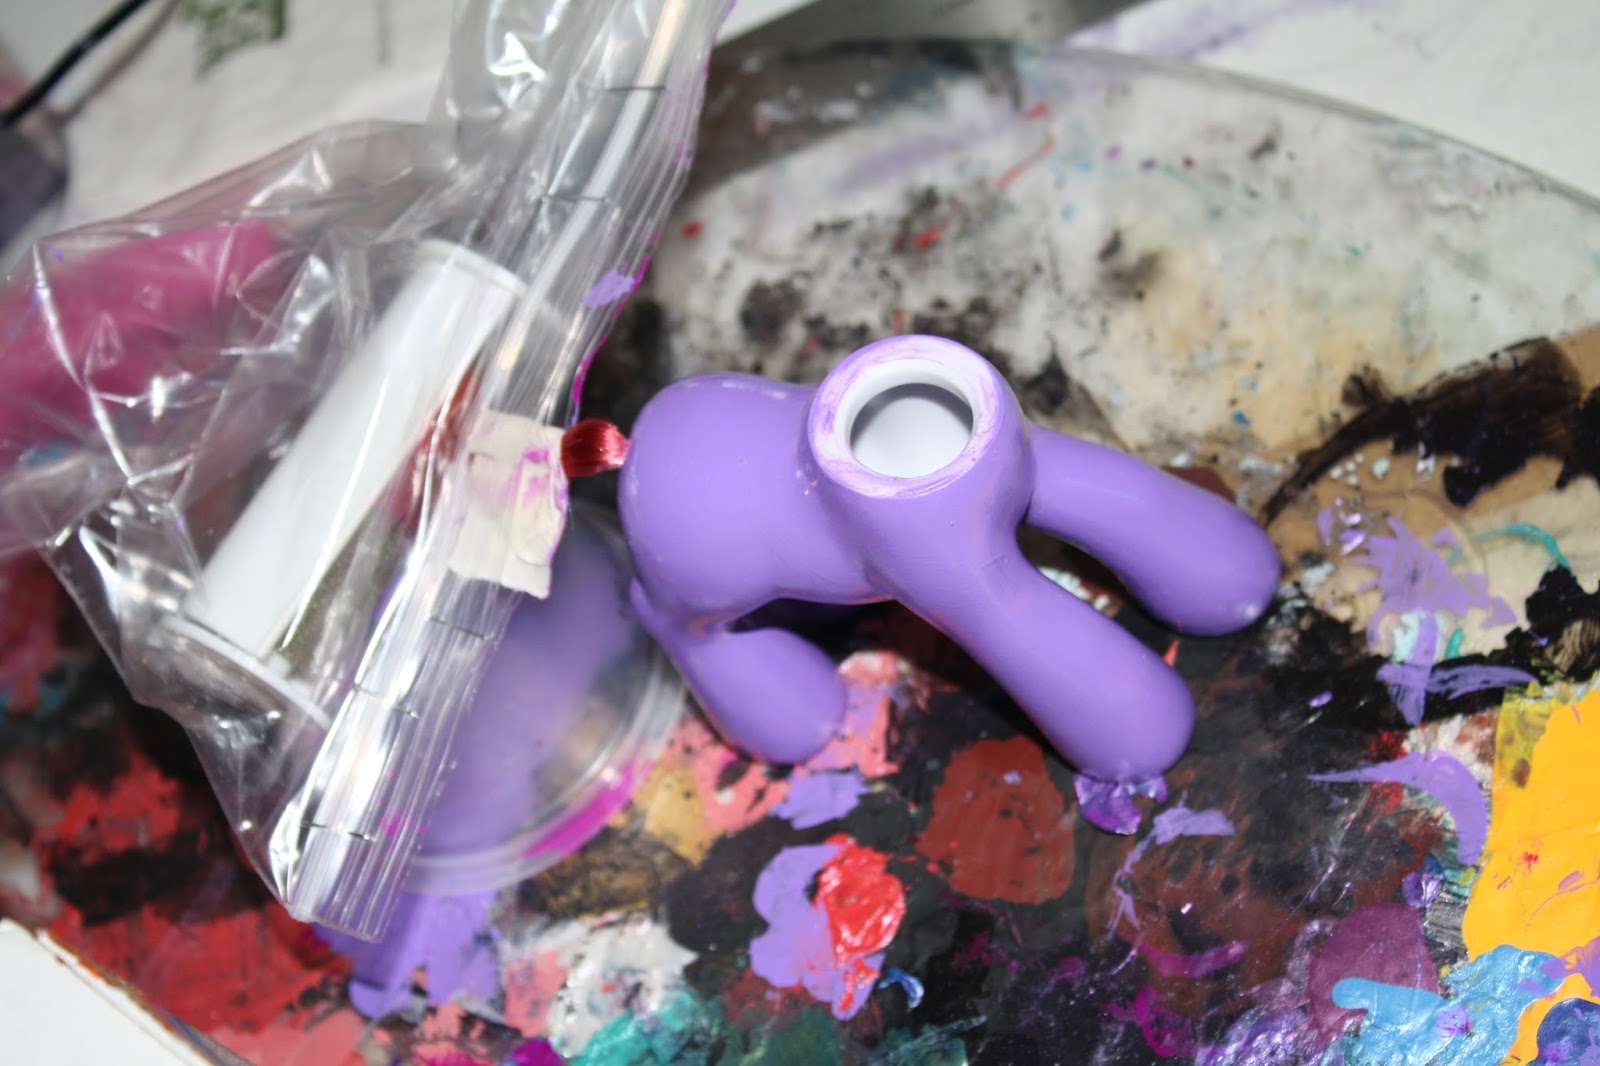
The General theme of this custom made DIY wand whcih I hand sculpted using armature wire & Supersculpy was to resemble my sketches of my wand I scripted in to my D.R. Shifting Script at my Hogwarts D.R. (Desired Reality) if you are familiar with "Reality Shifting".
The design blends concepts from Chinese Taoism and also some vague ideas from "Fantastic Beasts" which is a spinoff of The Wizarding World of Harry Potter franchise.
Whenever I get around to scanning my sketches, I will. I just didn't get to it yet since I started a M.A.P. W.I.P. (animation project).
This involved a lot of painting, patience for the layers of paint to set, and also the use of antiquing medium, metallics, and layering of pigments with glazing medium and even mother-of-pearl.


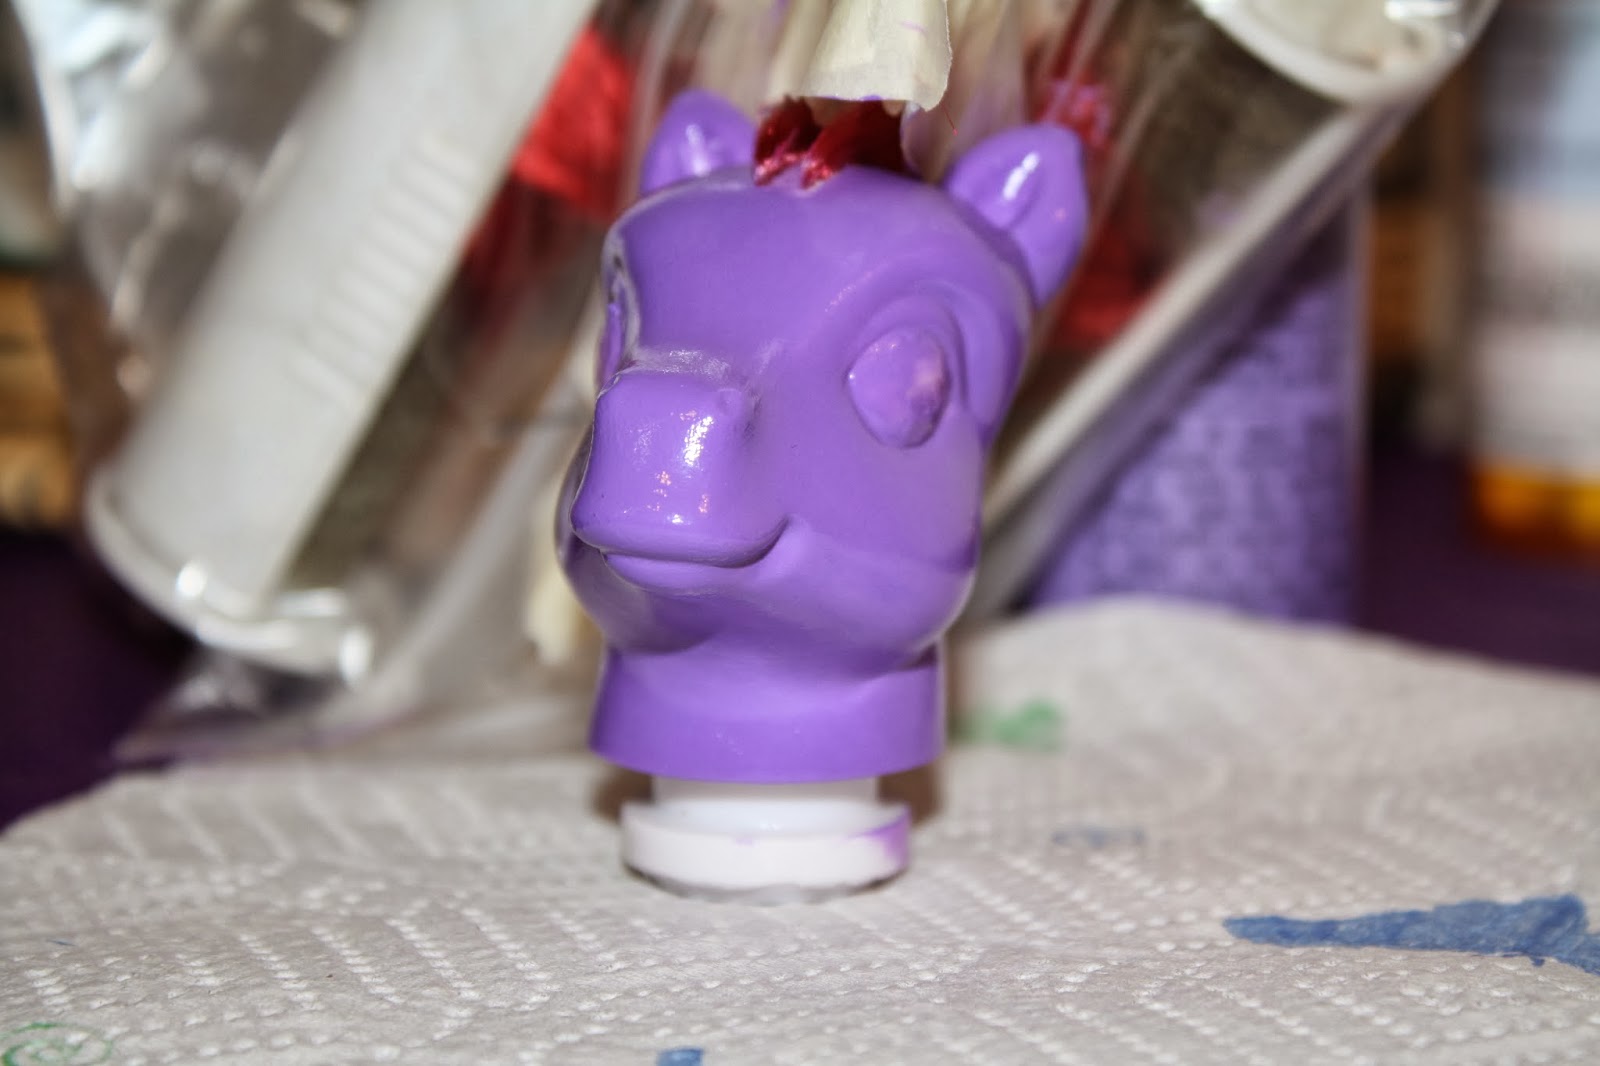
Gifting someone a Ruyi speaks volumes o meaning which it DOES NOT express in Western Languages, so it's easier to just smile & nod at the ignorant foreigner and just say "it's a scepter" even tho' IT'S NOT! Why, because it would take a long time to explain it, the meanings, the words, the customs, the culture.
It Taoism it has a VERY CLEAR magical meaning, and the power of WILL over matter.
If you want to find other examples of Ruyi, you can run a search in Etsy and see what shows up, because it's a lot of interesting stuff at any given time. Highly creative artisans 7 collectors have various Ruyi, including Sun Wukong's Jing Gu Bang.
So, anyways, you COULD say that mine is #Fanfiction or #HarryPotterFanFiction of sorts but it's for my Reality Shifting D.R. Basically, it's when you move you consciousness to another reality, which you can script & design, and you just live their for as long as you want until you come back to your body here in the C.R. (Current reality). Also known as "Localle 3" in "Gateway Process" Tapes by Robert Monroe/Monroe Institute.
I'll blog some more on this later, when I have time.
No, I haven't published my Hogwarts D.R. Script. But, I did post some stuff in My Pinterest of various A.I. images of characters from my D.R. including "The Cathay Arboretum", and "The Advanced Arts Department" [known as the A.A.D.] (stuff I scripted into Hogwarts because life without art, even at Hogwarts, is boring otherwise), various vacations we went to such as Christmas Break in Vienna and Spring Break in Mallorca Spain. My Ravenclaw D.R. takes place in the 1990s like the books, and I also scripted my real British Grandmother into the story as a magical sorceress in a fairy glen Cottage near Manchester England.
Most of the characters r people from my C.R. including people I grew up with, went to middle school, high school, college with, or former coworkers & friends of mine, including my friend, David Biedny, who died in January 2024.
Other stuff at my Hogwarts/Ravenclaw D.R. [Pinterest]:
Beverages, Terry Boot, Mandy Brockelhurst, N Lisa Turpin (background book characters), Hogwarts Aesthetic, My Private bedroom in the Top Turret of the Ravenclaw Tower, Ravenclaw Uniform & Fashion, Ravenclaw House Decor, Magical Yachts, 90s Muggle Trends, Dragon totem, Owls.
Also, "Reality Shifting" is quite different from "Lucid Dreaming" and/or "Lucid Dreams" but they're related, and so is OBEs (Out-of-Body Experiences) and "Astral Travel". You CAN actually use a Lucid Dream as a platform to SHIFT to your D.R. And it's somewhat similar to "Dream Incubation" but it's not a generic dream. In a Lucid Dream YOU CAN TEST to see if you're dreaming, and the checks will prove you're dreaming, and within the dream, and you can take over. But, when you SHIFT to another reality, you can run a reality check and they will all pass. BECAUSE IT'S REAL. You're MIND either made it, or it's an actual reality of molecules that you relocated your consciousness to. There's various views & beliefs as to which thing is happening, but I've found they're all valid. There's also waking methods & sleeping methods. These can also closely resemble "Hypnotic Induction". If you're "wooshing there", this to me suggests Hypnotic Induction, but if you have a SINKING and DEEP FEELING that's Shifting. But, other experiences are more similar to OBEs, Gateway Process, and Astral Travel because there's the vibratory state, tingles, etc. A Common place people shift to is a "Waiting Room" which you can design yourself, and they hang out there, eat delicious foods, watch TV, plan things, and so on.
I've shifted several times to other realities, and was even stuck there, but I'd eventually will myself back. I just didn't know you could script this until recently, so it's an ongoing thing with me. I've mini-shifted to Hogwarts several times, in fact, I can't remember them all. Glad I wrote them down! I tend to get way to excited, and fuck it up! I've also done Lucid Dreaming several times as well, and I've screwed up 1 of those pretty bad, also. Shifting is EXHAUSTING when you do it, I just tend to go to THE WRONG LOCATIONS for some reason, and I get stuck there. I also have an issue with "Dreamwalkers" whom invade & hack into my dreams, like the film "Inception". Sometimes they're good, other times' they're bad, and then there's neutral or morally gray ones. They can also mess me up.
That's about it for now, but I'll update this project content when I get around to it. I need to shoot more footage & photos of the finished wand.


